3.9 KiB
Troubleshooting
The sketch doesn't compile
Do the following:
- Check ESP32 core is installed. Check if the version matches the one used in the tutorial.
- Check libraries. Install all the required libraries from the tutorial. Make sure there are no MPU-9250 or other peripherals libraries that may conflict with the ones used in the tutorial.
- Check the chosen board. The correct board to choose in Arduino IDE for ESP32 Mini is WEMOS D1 MINI ESP32.
The drone doesn't fly
Do the following:
-
Check the battery voltage. Use a multimeter to measure the battery voltage. The fully charged battery should have about 4.2V.
-
Check the battery you use has enough discharge current. The battery should be able to provide 15A of current. So the C-rating for a 1000 mAh battery should be at least 15C (higher is better).
-
Check if there are some startup errors. Connect the ESP32 to the computer and check the Serial Monitor output. Use the Reset button or
rebootcommand to see the whole startup output. -
Check the baudrate is correct. If you see garbage characters in the Serial Monitor, make sure the baudrate is set to 115200.
-
Check if the console is working. Perform
helpcommand in Serial Monitor. You should see the list of available commands. You can also access the console using QGroundControl (Vehicle Setup ⇒ Analyze Tools ⇒ MAVLink Console). -
Configure QGroundControl correctly before connecting to the drone if you use it to control the drone. Go to the settings and enable Virtual Joystick. Auto-Center Throttle setting should be disabled.
-
If QGroundControl doesn't connect, you might need to disable the firewall and/or VPN on your computer.
-
Make sure correct IMU model is chosen. If using ICM-20948/MPU-6050 board, change
MPU9250toICM20948/MPU6050in theimu.inofile. -
Check the IMU is working. Perform
imucommand and check its output:- The
statusfield should beOK. - The
ratefield should be about 1000 (Hz). - The
accelandgyrofields should change as you move the drone.
- The
-
Check the IMU orientation is set correctly. If the attitude estimation is rotated, set the correct IMU orientation as described in the tutorial.
-
Calibrate the accelerometer. if is wasn't done before. Type
cacommand in Serial Monitor and follow the instructions. -
Check the attitude estimation. Connect to the drone using QGroundControl. Rotate the drone in different orientations and check if the attitude estimation is shown exactly as on the video below:

-
Check the IMU output. Connect to the drone using QGroundControl on your computer. Go to the Analyze tab, MAVLINK Inspector. Plot the data from the
SCALED_IMUmessage. The gyroscope and accelerometer data should change according to the drone movement. -
Check the motors type. Motors with exact 3.7V voltage are needed, not ranged working voltage (3.7V — 6V).
-
Check the motors. Perform the following commands using Serial Monitor:
mfr— should rotate front right motor (counter-clockwise).mfl— should rotate front left motor (clockwise).mrl— should rotate rear left motor (counter-clockwise).mrr— should rotate rear right motor (clockwise).
-
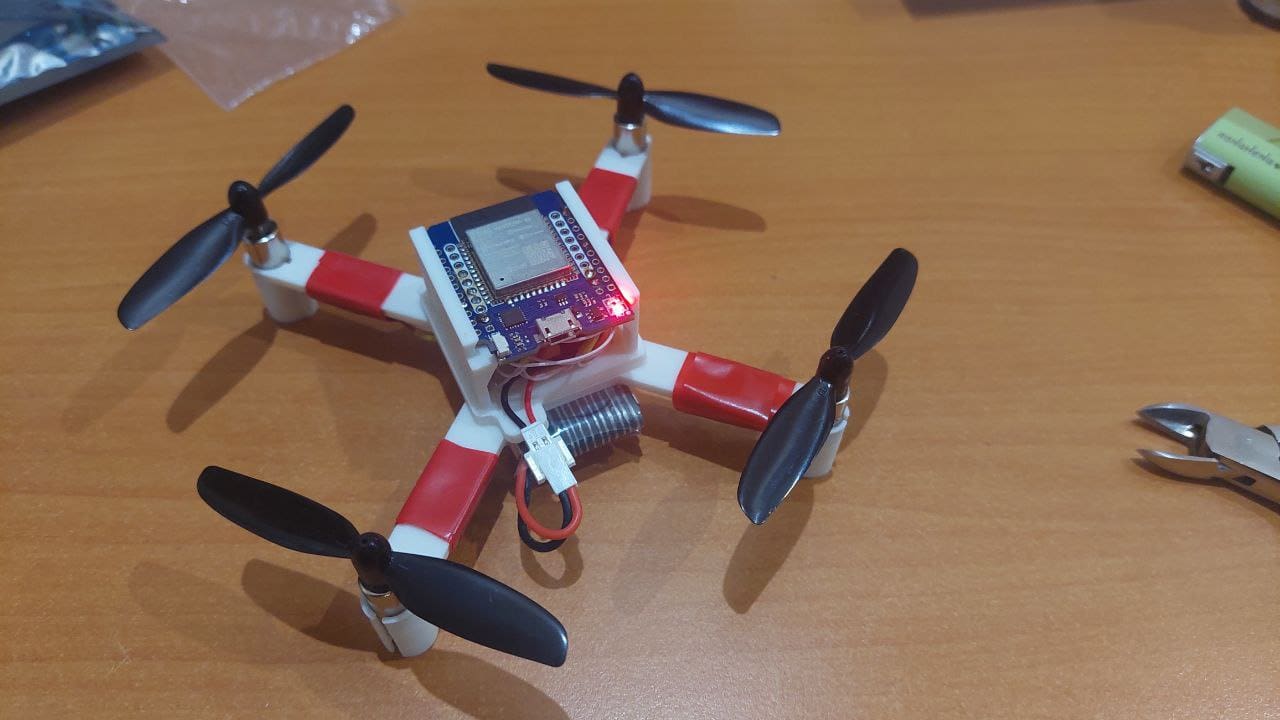
Check the propeller directions are correct. Make sure your propeller types (A or B) are installed as on the picture:
-
If using an SBUS receiver:
- Define the used GPIO pin in
RC_RX_PINparameter. - Calibrate the RC using
crcommand in the console. - Check the controls using
rccommand. All the controls should change between -1 and 1, and the throttle between 0 and 1.
- Define the used GPIO pin in
